Splatoon Raiders Hideout Ship Guide
Turn Spirhalite salvage into tanks, gadgets, weapons, and a stronger home base.
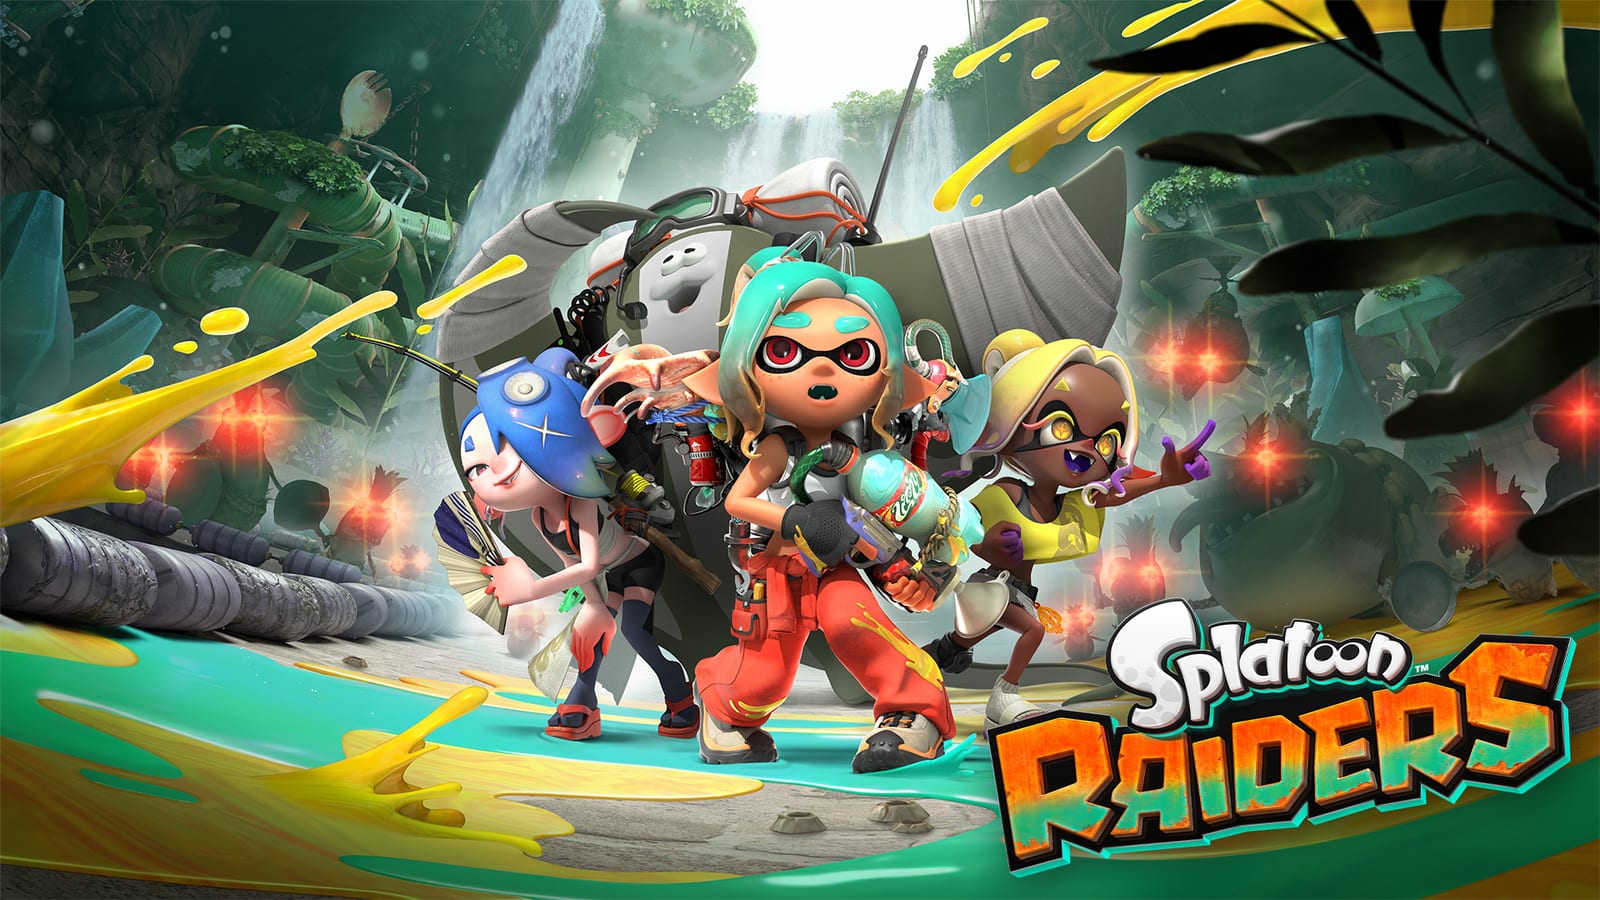
The Hideout Ship is your hub in Splatoon Raiders—part workshop, part lounge, part mission control. After the crash landing on the Spirhalite Islands, the mechanic and Deep Cut rebuild this floating base into the place where every meaningful upgrade happens. If dungeon drops feel weak, you are often underusing the ship rather than “bad at aiming.”
Pair this guide with the Walkthrough Hub, dungeons farming matrix, and materials list so construction never stalls for a missing jaw or bucket.
Core facilities and who runs them
- Mechanic’s Shack — tank upgrades, ship construction menus, and facility builds.
- Gadget Workshop (Shiver) — craft gadgets, develop parts, later upgrade parts.
- Weapon Stash (Frye) — weapon upgrades, scrapping, and later power swapping.
- Hoard (Big Man) — catalog Relics, Briny Scrolls, enemy info, and collection progress.
- Treasure Map / Exploration Bot bay — choose the next island dungeon.
- Test range — prove sensitivity, gadgets, and Bot Buddy launches before a real raid.
Arcade toys and cosmetic flexes appear as the ship grows, but the four Deep Cut/Mechanic pillars are what raise your clear rate.
Construction order mindset
Ship level increases are gated by story beats and by clearing outstanding facility upgrades first. In practice: finish the pending Tank Upgrading / Gadget Development / Weapon Upgrading style jobs on your list, hit the required story dungeon, then spend Spirhalite Gems, Shards, and Salmonid parts on the Hideout Ship level itself.
A common early goal is reaching the mid ship tier after Bowtlode Temple with a kit that includes a Spirhalite Gem, Steel Eel’s Jaw, Salty Tongue’s Buckets, and a four-digit shard fee. A later tier near the end of Gildred Island content asks for more gems, Drizzler’s Masks, Slammin’ Lid lids, and another heavy shard payment. Exact menus can shift with patches—always trust the in-game Ship Construction requirements on your save.
What to buy before vanity
- Tank upgrades that raise HP and attack for the archetype you main.
- Gadget unlocks that match that tank’s L/R plan from Builds.
- Weapon upgrades for one primary you actually clear with—not five partial levels.
- Ship facilities that unlock scrapping, part development, or power swapping when available.
- Only then sink shards into experimental side weapons.
This order keeps story dungeons on Erpp and beyond from outscaling you while you chase fashion.
Test range is not optional fluff
Before Scayl Buried Ruins or any Spicy node, spend two minutes on the range. Confirm motion controls still match your weapon, fire both gadgets from cooldown, and practice a Bot Buddy hop/launch into a Y reset. The range grows with ship level—more targets, arcade challenges, inkrail toys—so revisit after each construction jump.
If a gadget part changes your kit’s timing, the range is cheaper practice than a failed gem search.
Economy loop with the islands
- Shards → Weapon Stash, many crafts, ship fees (farm via Shard Mining).
- Salmonid materials → gadget crafts and ship level bills (farm bosses and targeted stages).
- Gems → major construction gates (gem search dungeons).
- Relics & scrolls → power identity and collection tracked in the Hoard (relics, collectibles).
- Skill Tomes → tank growth from Sampler Dungeons on the map.
When you are broke, do not spam the nearest story skull. Queue the dungeon type that drops the bottleneck resource.
Difficulty and co-op from the ship
Change Tourist / Raider / Survivalist on the ship whenever you want. Because loot quality is not gated by difficulty, the ship is also where you should be honest: drop difficulty to learn a facility’s new gadget, then raise it again for pride clears.
Co-op parties should meet on the ship long enough to align tanks. Four Tactical players with overlapping turrets can still lose a drill stage if nobody brought mobility. Use the raid checklist as the shared script.
Quality-of-life unlocked by caring about the ship
Higher ship levels expand the test range, unlock advanced Shiver/Frye services after major story beats, and make the base feel like a home instead of a temporary raft. That emotional upgrade matters on long Switch 2 sessions—you will actually return to spend loot instead of hoarding it in inventory limbo.
Big Man’s Hoard is your truth serum for completion: if scrolls or relics are missing, he shows the gap; if you feel weak, check whether unused relic powers are simply unequipped.
Practical evening plan
- Note the next Ship Construction requirement.
- Run two targeted farms from the dungeons matrix.
- Spend on the facility that unblocks the ship level or your main tank.
- Test on the range.
- Attempt one progression dungeon from the Walkthrough Hub list.
Follow that loop and the Hideout Ship stops being a menu you fear and becomes the reason island raids feel rewarding.
Frequently Asked Questions
Quick answers to the most common questions.
Where do I upgrade the Hideout Ship?
Use the Mechanic’s Shack Ship Construction menus. Clear pending facility upgrades and the required story gate, then pay the listed Spirhalite and Salmonid costs.
Who should I visit for gadgets versus weapons?
Shiver runs the Gadget Workshop. Frye runs the Weapon Stash. Big Man’s Hoard tracks relics and scrolls. The Mechanic handles tanks and ship builds.
Why can’t I level the ship even though I have shards?
Outstanding facility upgrades or a missing story requirement usually block the ship level. Check Ship Construction for the exact gate on your save.
Should I upgrade every weapon I find?
No. Focus shards on the weapon and tank you clear dungeons with, plus upcoming ship fees. Scrap or park extras until your base priorities are stable.
Does the test range matter?
Yes. It is the safest place to verify sensitivity, gadget cooldowns, and Bot Buddy launches after a build change—before a Spicy or story attempt.