How to Use Gadgets in Splatoon Raiders
Match tank-tied gadgets to raid problems and upgrade them with parts at the Hideout Ship.
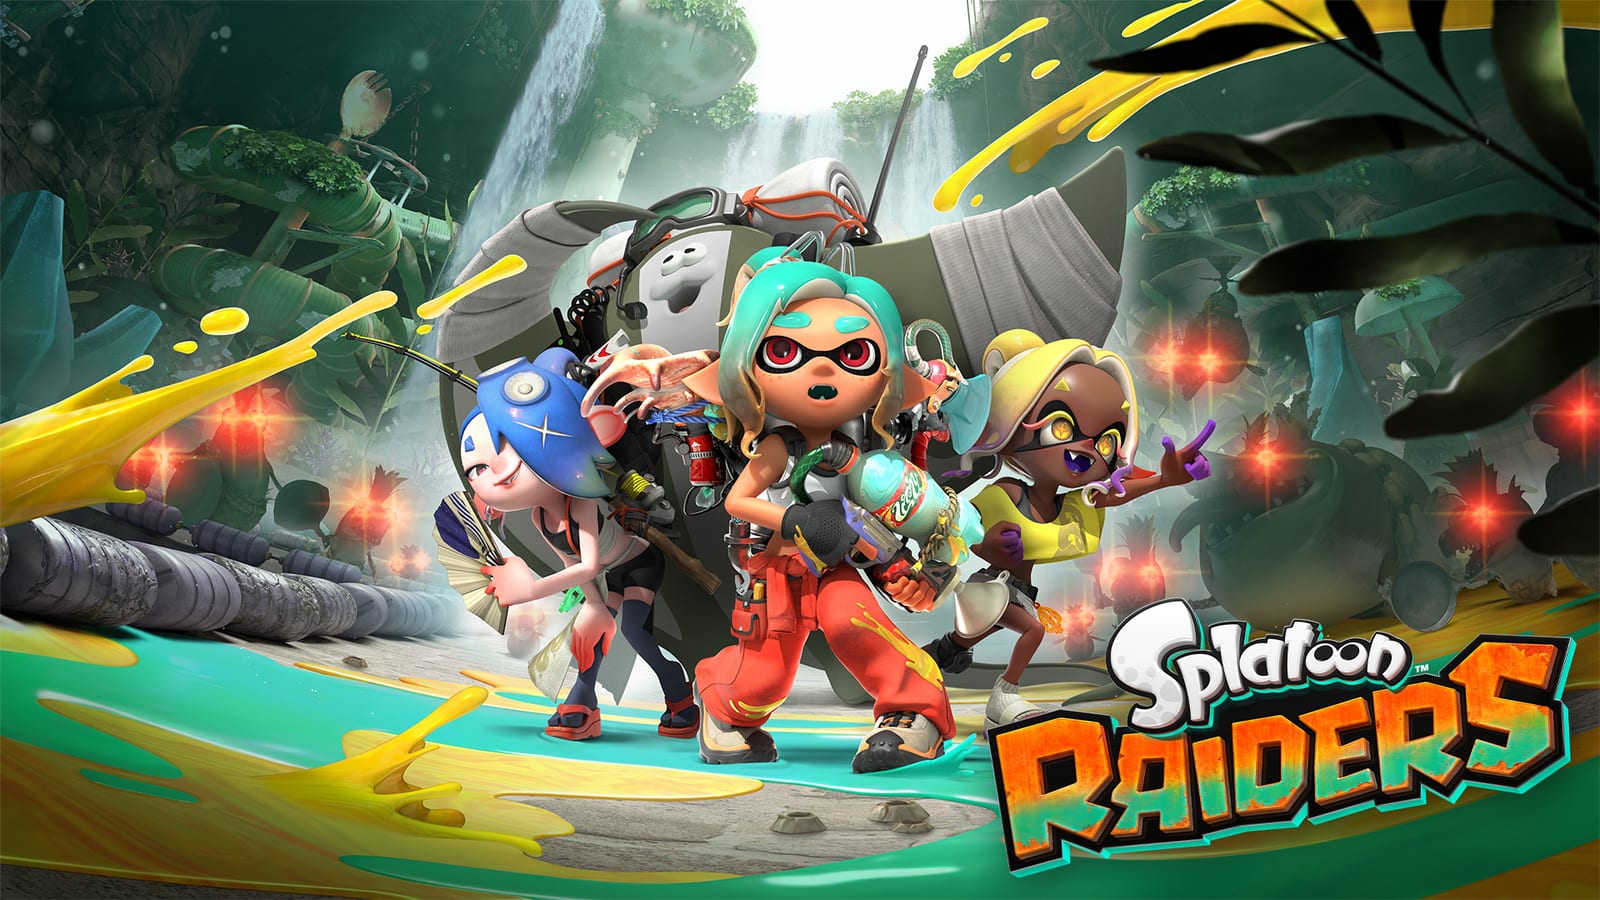
Gadgets are the Mechanic’s signature tools
Tanks in Splatoon Raiders are more than backpack cosmetics. Each Power, Speed, or Tactical tank unlocks a gadget pool you equip before a raid—two gadgets to start, with later tank mastery unlocking a third slot. Gadgets are how the Mechanic breaks shields, plants turrets, bombs sideways through packs, and survives dens that outnumber classic Splatoon firefights.
This guide explains tank identities, flagship gadgets, part customization through Shiver’s workshop, and how to pick loadouts for story versus farm nights. Watch the mid-page showcase for kit energy in motion, then theorycraft finished sets on Builds and Tier List. Basics of the raid loop remain in Getting Started.
Tank identities and flagship gadgets
Power Tank — win the pileup
Power wants to lean into swarms and armored targets.
- Splatchet — Wide slash that cracks tough shields and opens Boss windows.
- Splatellites — Orbiting ink attackers that also coat ground control.
- Spinwheel — Forward swirling spray that shoves lesser Salmonids and can lock attention onto Boss threats.
Use Power when dens funnel enemies into your face or when shield enemies stall the bot’s dig.
Speed Tank — rewrite your positioning
Speed gadgets create sudden vectors.
- Blast Boot — Leap attack or escape in one committed burst.
- Dash Bomb — Explode through a chosen direction—forward, side, or back.
- Booyarang — Throw-and-return pressure that stays airborne briefly before coming home.
Pick Speed for mobile lesser packs, narrow failure states, and co-op roles that peel or revive map control.
Tactical Tank — own the geometry
Tactical gadgets create devices and linkages.
- Shot Pot — Deployable turret that auto-inks threats while you dig or reposition.
- Bombloons — Linkable bombs that detonate into a larger blast when shot.
- Tether Wail — Laser tether connected to your tank for focused punishment.
Tactical shines in chokepoints, crystal rooms where you must multitask, and fights where prep time beats raw sprinting.
Customizing gadgets with parts
Clearing islands yields gadget parts you slot into upgrade rows—damage, fire rate, duration, ink explosions, knockback gas, and more. The true power spike is not owning a gadget; it is owning a tuned gadget. Visit Shiver’s Gadget Workshop to craft new tools and push part projects. Meanwhile Frye handles weapons (How to Upgrade Weapons) and Big Man catalogs what you find (Items).
Parts should answer a failure you actually had:
- Dying while digging → duration, peel, or knockback utilities.
- Bosses living forever → raw damage and armor-break tools.
- Ink drought → efficiency-minded parts and cleaner weapon pairing (Weapons).
Spirhalite still matters for broader ship costs—fund parts nights with How to Farm Spirhalite.
Loadout recipes for common goals
Story dungeon push: One defensive/peel gadget + one damage gadget. Bring the Bot Buddy Showstopper that covers your kit’s blind spot (How to Increase Bot Buddy Bond).
Shard farm: Maximize clear speed. Power Spinwheel or Tactical Shot Pot often shorten dens. Keep difficulty honest—Tourist/Raider if Survivalist slows the loop (Difficulty Guide).
Co-op support: Diversify. Four Power tanks waste overlapping roles. Mix Speed peel with Tactical devices and one Power breaker (How to Play Co-op).
Relic testing: Change one gadget at a time so you can tell whether a relic or a part caused the improvement. Track attempts on the Raid Checklist.
Relic Powers and the third gadget slot
Tanks gain enhancements the more you use them, including the jump from two gadgets to three. That third slot is a build-defining moment—suddenly Bombloons can coexist with Shot Pot and a tether, or Blast Boot can sit beside Dash Bomb and Booyarang for pure mobility chaos. Relic Powers further tweak buffs; identify them under Items before you assume a weapon is “broken.”
Do not ignore Mechanic’s Shack tank stats while chasing gadget glamour. HP and attack make every gadget safer to cast in a crowd.
Practice habits that stick
- Run the same den twice with different gadgets; compare clear time.
- Watch whether you press gadgets on cooldown or on purpose—panic spam wastes setups like Bombloon links.
- Use Exploration Bot digs as the schedule: clear → gadget reset → dig → rotate.
- When a Showstopper is ready, cast it to create gadget windows, not as a duplicate of the same role.
Common mistakes
- Treating gadgets as interchangeable across tanks (they are not).
- Upgrading every part equally instead of fixing a bottleneck.
- Bringing three mobility tools into a shield den that needed Splatchet energy—wait for the third slot and still respect the matchup.
- Never reading Controls after remapping, then “losing” gadget inputs mid-raid.
Gadgets are why the Mechanic fantasy works. Weapons paint the fight; gadgets rewrite the rules of the room. Master one tank’s kit deeply, unlock the third slot, then branch into sibling tanks so every Spirhalite facility has an answer. For more systems pages, browse the Guides Hub and skim the Review after your next workshop night.
Frequently Asked Questions
Quick answers to the most common questions.
Are gadgets shared across all tanks?
No. Gadgets are tied to Power, Speed, or Tactical tanks. Swap tanks to access each pool.
How many gadgets can I equip?
You start with two gadget slots per tank and can unlock a third as that tank gains enhancements through use and upgrades.
Who helps craft and upgrade gadgets?
Shiver runs the Gadget Workshop on the Hideout Ship. Collect gadget parts on raids, then slot upgrades like damage, duration, or extra effects.
Which tank is best for beginners?
Power is straightforward for swarms, Speed teaches movement safety, and Tactical rewards setup play. Try each; your best tank is the one that shortens your current dens.
Do gadgets replace weapons?
No. Weapons remain your primary ink output. Gadgets add tank-specific tactics that weapons alone cannot cover.